

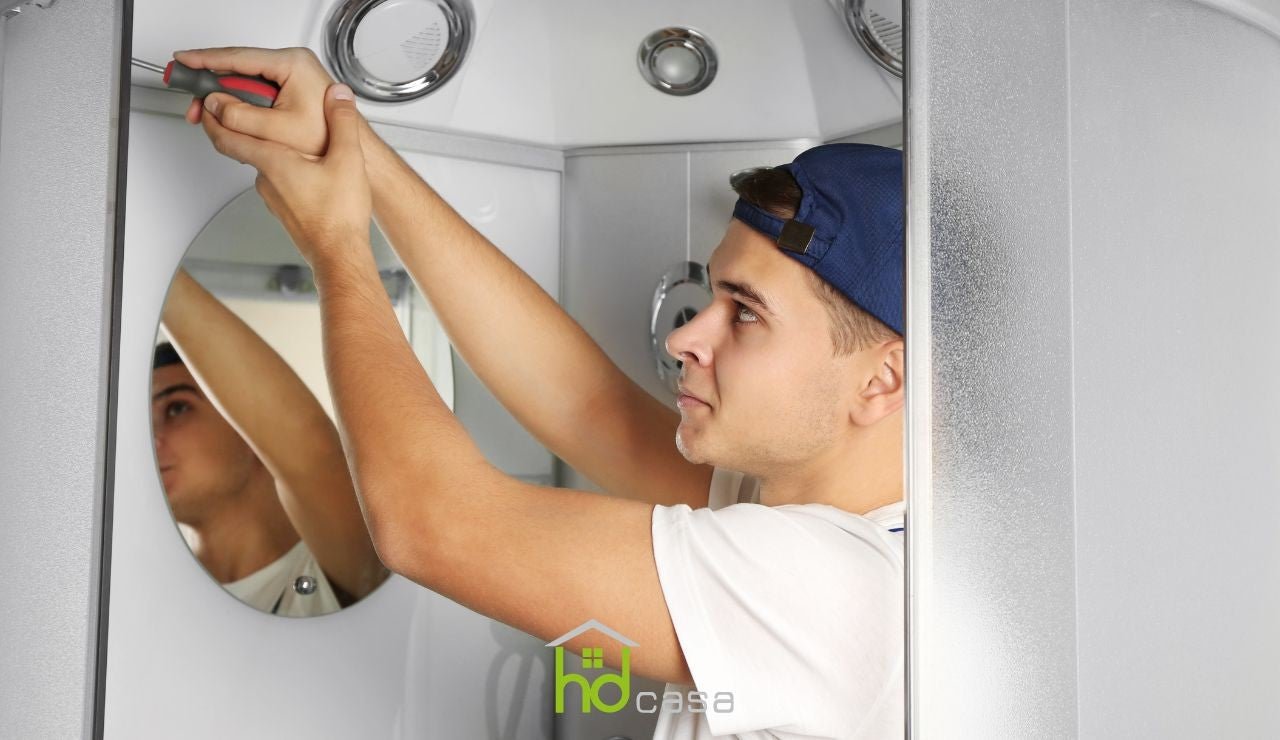
There are several reasons for having to dismantle the shower enclosure.
Since it is an element of bathroom furniture used continuously, various problems can occur, mold can develop or the silicone present in the profiles of the doors can deteriorate.
But the replacement can also be due to other problems related to use, such as a simple breakage of some gasket or component of the shower enclosure.
Finally, the dismantling of the shower enclosure can be due to unpleasant incidents in our bathroom, such as for example infiltrations that have caused rust.
Whatever the reason for having to dismantle the shower enclosure, it is important that you remove it correctly so as to avoid damaging the bathroom and hurting yourself!
Despite what one might think, it is not always necessary to call a professional for dismantling the shower enclosure and it is therefore possible, depending on the case, to save a little something with a bit of healthy elbow grease.
Follow this guide in 5 steps to correctly dismantle the shower enclosure and best prepare yourself for its replacement.
Step 1: make sure to dismantle the sliding doors of the shower enclosure correctly
The first step is to dismantle the sliding doors of the shower enclosure. To do this, make sure to have a firm grip on the door and lift it so that it comes out of the aluminum tracks.
Make sure to pay particular attention especially when the door has come out. Many shower enclosures, especially semicircular ones or more generally full-glass walk-in models, tend to be very delicate and it is precisely in this phase that the doors or shower panels could chip and even break.
Also, always be careful to unhook the bearings from the steel profile in the best way to avoid forcing these components and chipping the load-bearing structure.
Step 2: eliminate the silicone in the best way with some useful tips
The second step consists in eliminating the old layer of silicone. If you haven't dismantled the shower enclosure for months or years, you might see silicone of a bright yellow color. Furthermore, if you have had problems with infiltrations or mold, you will have to pay particular attention to this step.
Make sure to have a cutter or a specific silicone scraper to remove all the old layer.
In case it has hardened excessively or you want to avoid going too hard with the cutter, you can use some tricks to remove it in the best way.
The best option would be to use a heat gun that softens the silicone and allows for quick and immediate removal. For a more DIY solution, we advise you to leave some degreaser, mineral spirits or vinegar for 20 minutes on the silicone layer to weaken it and make its removal easier.
Make sure to pay particular attention; having an approach that is too aggressive could ruin your shower tray or tiles and leave stains or chips on its surface.
Once the silicone layer between the steel profile and the shower tray has been removed, we are ready for step 3.
Step 3: dismantle the load-bearing structure of the shower enclosure in the correct way
The third step consists in removing the steel parts linked to the shower tray and dismantling the entire load-bearing structure.
Gently unscrew all the last screws joining the load-bearing structure to the shower tray and to the wall.
Also in this phase it is necessary to pay particular attention because there could be dangerous screws that could cause you cuts and burns. This is because the underlying structure might have rusted or deteriorated, especially if no maintenance has been done for years, or otherwise they might have installed non-durable materials.
Once ensured that all screws have been removed, lift the entire load-bearing structure with a slight pressure and detach it from the wall. You might find yourself with holes of modest size, but do not worry, we will see in the next step how to resolve this situation!
Step 4: fix the last remaining holes and prepare the last special touches
In this penultimate step of dismantling the shower enclosure, you will have to fix the holes left by the installation of the previous shower enclosure and prepare everything for the installation of your next shower enclosure.
Do not underestimate this step because it could cause you problems with the installation of the next shower enclosure or leave unpleasant halos or stains in your bathroom.
The first thing to consider is the presence of fixing systems such as wall plugs. If not removed correctly, they could ruin the wall surface and even enlarge the hole.
The ideal solution would be to use needle-nose pliers which, thanks to their particularly elongated shape, are excellent for this type of operation. In case one of the wall plugs has broken, do not fear, here are some small bonus tricks.
You can either use the classic way helping yourself with a soldering iron and an old screwdriver. With this method, you will have to heat the tip of the old screwdriver so that it melts with the wall plug and is easily extractable. If instead you want to opt for a more invasive method, use an electric drill to create a hole at the sides of the wall plug and extract it.
Finally, once all the wall plugs have been extracted and the load-bearing structure detached, close all the holes created with putty.
Step 5: give the final touches to dismantling the shower enclosure and prepare to make room for the new one
This step is fundamental to be able to best prepare your bathroom and proceed in the best way with the installation of the next shower enclosure. Help yourself with sandpaper to best prepare the surface.
It would be preferable to use fine-grained sandpaper, choosing high grain numbers to avoid affecting the ceramic surfaces of the shower tray or the walls or tiles of the bathroom.
At this point you only have to install your new shower enclosure and in case you are still deciding, follow our guide on how to choose the perfect shower enclosure for your bathroom.


