

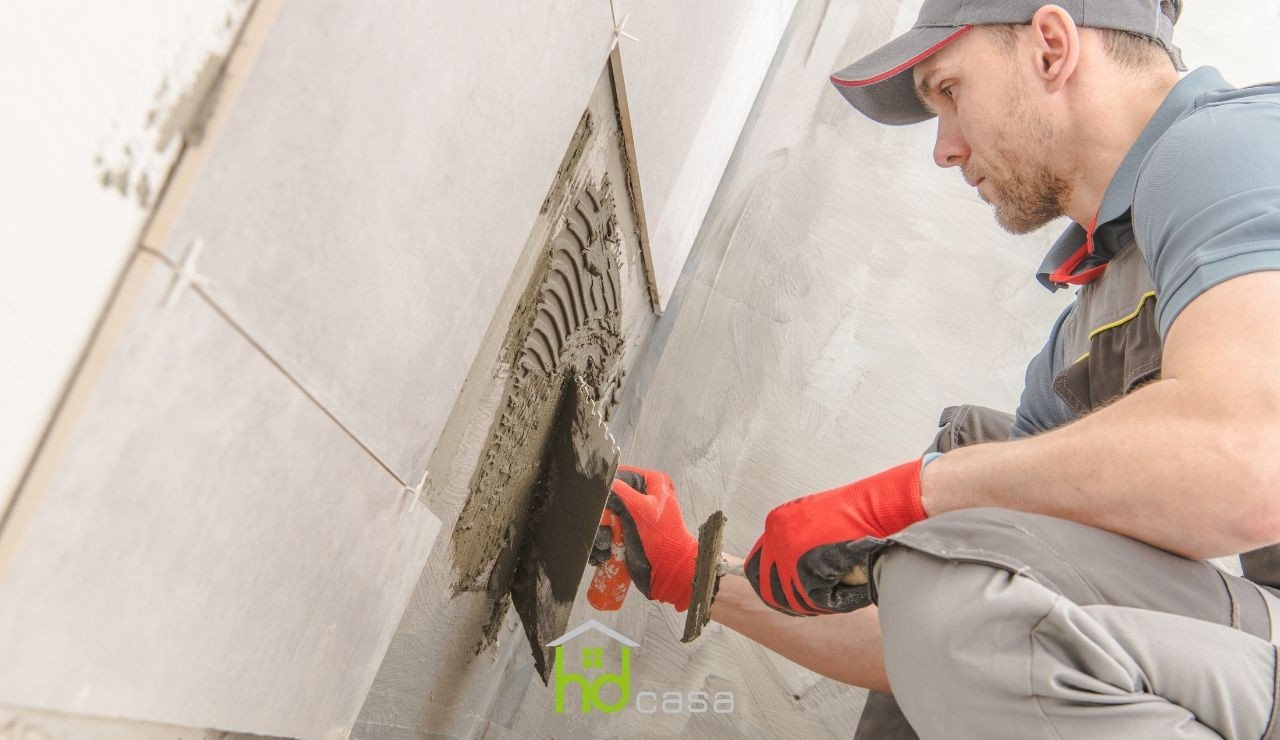
Tiling the bathroom is an activity that can seem particularly difficult but at the same time can represent a satisfying challenge for every DIY enthusiast.
The bathroom tiles in fact can be subject to chipping or other cracks that make a replacement necessary. Unlike other rooms in the house in fact the bathroom is more lived-in and the furnishings, the sanitary ware as well as the floorings can get damaged more easily compared to other areas of the house.
For this reason knowing how to put tiles in the bathroom can be very useful to always have one's own bathroom in the best conditions.
In fact, despite putting tiles usually being entrusted to professionals, with the right determination and attention it can be done by anyone.
Before starting with the guide, make sure to wear everything necessary for personal protection by wearing gloves and protective glasses.
Always remember to pay maximum attention to your safety and that of those around you and to turn to professionals in case you do not feel safe.
DIY bathroom cladding: which tiles to consider
Doing a bathroom cladding installation is an excellent opportunity to free one's own imagination and express one's own style to the maximum. On the market it is possible to find tiles made of different materials and suitable for different rooms and styles.
Let's see together what the advantages and characteristics of some are.
Ceramic tiles: They are a type of tiles that are very versatile and resistant, capable of resisting both water and heat, and thanks to the little maintenance they need they can resist for years and maintain quality.
On the market there are many variants that allow creating fantastic combinations and choosing very interesting colors.
For these qualities it is a perfect material especially for the kitchen and the bathroom.
Depending on the colors you choose this type of tiles is more indicated for classic styles.
Porcelain stoneware tiles: They are types of tiles that allow a very high versatility.
They allow to faithfully imitate different materials such as stone, marble and wood. This material can give you many ideas to understand how to clad a bathroom in an elegant and functional way because it is especially indicated for modern bathrooms.
Furthermore it is very resistant to scratches and wear, making it a good choice for the bathroom.
Natural stone tiles: a valid alternative to tiles is natural stone which allows having an excellent material for one's own bathroom.
Natural stone in fact is more resistant and is an excellent insulator for environments. Furthermore it can represent a very particular design choice especially for the most modern rooms.
On the other hand however it is a very expensive material and to be laid in a DIY manner it is necessary to rely on professionals.
Step 1: Before tiling the bathroom DIY prepare the walls
Before understanding how to tile the bathroom it is necessary to prepare the walls for the spreading of the adhesive, which could be a primer for fixing or cement glue.
Use a chisel and a hammer to break the old tiles.
In case you want to keep the old tiles of your bathroom intact you can adopt some measures:
- Use a heat gun to melt the grout inside the joints and use a small knife, or a grinder if you own one, to gently eliminate all the grout.
- Insert a chisel between the tile and the wall and tap gently until the tile detaches.
Pay attention during this phase because the tile could fall and shatter, even being able to injure you.
During this phase you will also be able to understand which style to give to your bathroom.
Step 2: Finish the surface to have the best result
In this step we will see how to prepare the wall to lay the tiles in the bathroom. First of all it is necessary to eliminate every trace of paint that can affect the spreading of the fixing primer.
In this way we will succeed in having a perfect surface for the application of the tiles.
To correctly remove the paint it is advisable first to soften it through a solvent.
You can use a cloth soaked with alcohol, acetone or mineral spirits to soften the paint. After a few minutes in which it will have taken hold you can rub the affected part to remove the painted layer.
Once the paint is completely eliminated and the substrate reached, make sure that the surface is clean and homogeneous.
After having arranged the wall at best from dust and cracks you can spread a wall cleaner accompanied by putty that manages to create a homogeneous surface.
Step 3: Find the laying line helping yourself with a tile
Place a tile on the wall without any cement glue and position a wooden strip to mark the height of the tile, in this way you will find the laying axis.
Use nails to block the strip. Help yourself with a level to make sure that the strip is straight.
Now let's move on to the most delicate phase, we spread the primer for fixing or cement glue to complete the laying of the tiles.
Step 4: Prepare the primer or cement glue for fixing
Once your wall is ready and clean you can position the primer for fixing or cement glue.
First of all combine the adhesive with water in the right proportions in case you have purchased a cement glue that must be prepared.
Once the primer is ready you can begin to spread the glue following the laying line.
Step 5: Spread the primer for fixing correctly
Make sure to have the necessary tools for the spreading.
If you can, get a notched trowel for the spreading of the primer, it will help you smear it at best and create the small channels necessary for a correct laying.
Remember not to smear the primer on the entire wall in advance but to begin from about 1.5 or 2 square meters at a time.
Maintain a thickness of 5-10 mm of primer to have an optimal fixing.
Once the primer is smeared you will be ready to lay the first tile.
Step 6: Let's see how to lay tiles in the bathroom in a correct way
Now proceed with the laying of the bathroom tiles.
Once the cement glue is spread you will be ready to lay the first tile. Follow the laying line, in this you will succeed in positioning the first row of tiles
After having positioned the first tile you can position cross spacers, they will help you keep the distance between one tile and another constant.
Follow the laying line to position the other tiles and help yourself with a rubber mallet to make the tiles adhere at best on the surface.
Step 7: Remove the strip and lay the first row of tiles
Now you will be ready to remove the strip and fill the first row of tiles.
Make sure to have enough space and that there are no errors in the measurements.
Always check the flatness of the surface to be able to correct any errors during the spreading.
Remember that once the glue has dried it will be much more difficult to adjust the tiles.
In case you have to fill specific spaces with tiles or have made a mistake in calculating the measurements do not worry!
In step 8 we will see how to cut tiles
Step 8: Cut the tiles to correct any errors
Cutting tiles could be necessary to make the calculations square or to hide some small imperfection during the spreading.
Usually tiles are cut with a specific electric accessory but on the market it is possible to find manual tools like tungsten carbide blades that will allow you to create particular and fundamental cuts for your needs.
Position the cut surfaces away from the edges of walls and floors to avoid them being excessively noticed.
Once all the tiles are arranged you will be ready to give the final touches!
Step 9: Grout the tiles for an optimal result
Once the tiles are positioned and waited for the glue to dry completely, wait for safety 24 hours.
You can apply a light layer of grout on all the joints eliminating the excess that will end up on the tiles.
Once the joints are grouted get ready for the final touch, take a sponge and a wet cloth.
Step 10: Remove the excess grout and spread the cleaner
Use a soaked sponge to remove the excess grout on the tiles that might have come out of the tiles.
If you wish to do a complete cleaning you can pass a dry cloth once the moisture of the sponge is dried.
As a final touch purchase a cleaner to remove the white haze of grout that might have been created.
Do not underestimate this step because once the grout has hardened you might no longer succeed in eliminating it, compromising the whole color of the tiles.


