

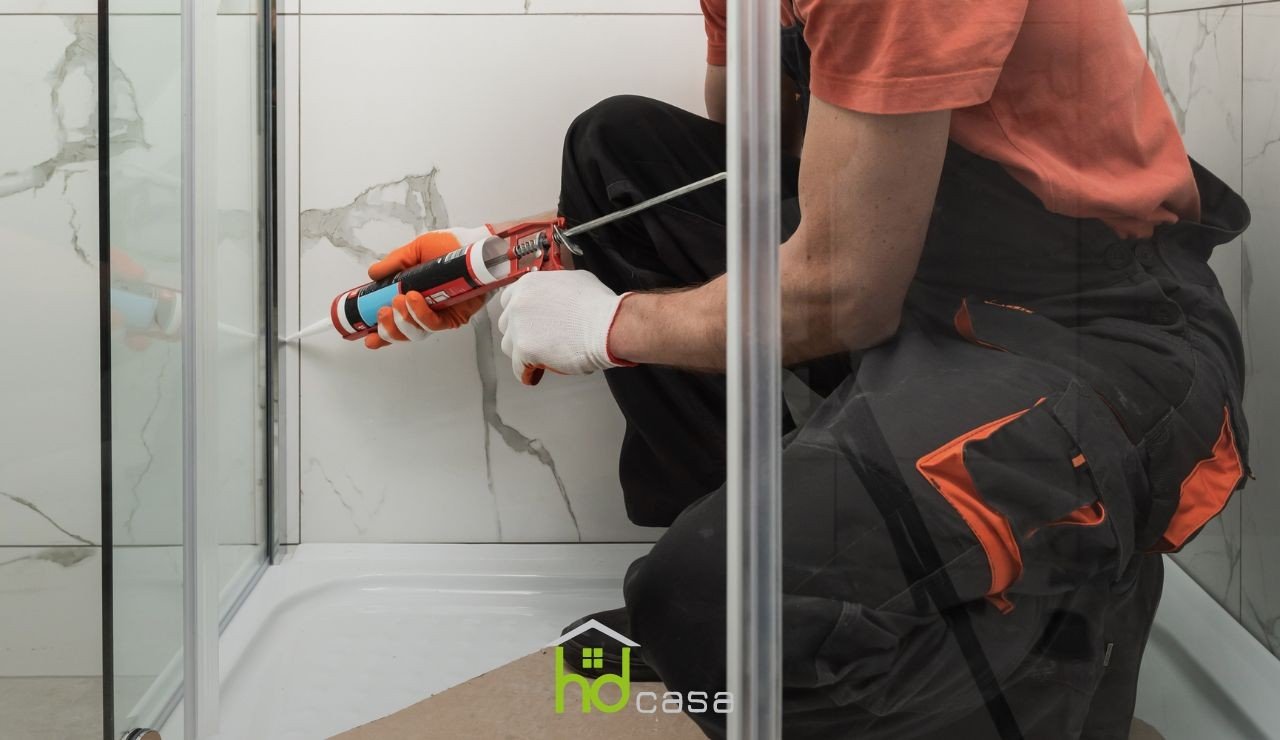
If you do not know how to silicone a shower enclosure or what the best methods are to perform this procedure at its best, having a series of precise and detailed explanations on how to do it is fundamental.
In this article, you will discover how to seal a shower enclosure, the last step of the assembly of a shower enclosure, and you will discover which tools you will need and all the precautions and operations you will have to perform afterwards to preserve your shower enclosure, to perform this work with the same techniques used by professionals.
What you need to silicone a shower enclosure
To seal the shower enclosure you will need:
- Silicone sealant: is the heart of this operation. Make sure to purchase a high-quality one, specifically designed for applications in humid environments like the bathroom. The silicone should be moisture and mold resistant to ensure a durable seal.
- Silicone Gun: indispensable for evenly distributing the silicone from the corners towards the center of the shower enclosure. Make sure the gun is in good condition, and that the pushing mechanism is working for precise control of the silicone flow.
- Adhesive Tape: will be useful to delimit the areas you intend to seal. This helps maintain a clean and precise sealing line. Choose an adhesive tape that is easily removable without leaving residues.
- Cutter: to cut the tip of the silicone tube in order to obtain a nozzle with the desired dimensions. Make sure the cutter blade is sharp for precise cuts.
- Silicone remover detergent: a degreasing detergent suitable for removing dirt, soap, and residues of old silicone. Make sure to dry the surfaces well after cleaning.
- Microfiber Cloth: to dry the cleaned surfaces before applying the silicone. This will ensure that the silicone adheres optimally to dry surfaces.
Make sure to have all these tools close at hand before starting the sealing of your shower enclosure.
An accurate preparation with the right tools will make the process more efficient and guarantee a high-quality result.
Now that you have all the tools ready, let's proceed with the next step to seal your shower enclosure effectively.
Clean thoroughly before siliconing the shower enclosure
To obtain an effective and durable sealing of the shower enclosure, it is fundamental to start with adequate preparation.
In fact, before starting any sealing operation, it is essential to clean the shower enclosure thoroughly.
Use a degreasing detergent and the silicone remover product specified among the requirements to perform this work. Pay particular attention to corners and other details, where residues of dirt, limescale, etc. tend to accumulate.
The use of a microfiber cloth or non-abrasive sponges is recommended for effective cleaning.
Remove the old silicone
After having thoroughly cleaned the corners and finishes of your shower enclosure thoroughly, you will have to completely remove any remaining layers of old silicone.
Use a cutter or a silicone scraper to carefully detach the old sealant material.
Make sure to eliminate any residue, as any trace of previous silicone could compromise the adhesion of the new layer, or favor the formation of mold under the layer of silicone that you are going to apply.
Dry the cleaned surfaces thoroughly
Once the cleaning and removal of the old silicone are completed, make sure that the shower enclosure is completely dry before proceeding with the sealing.
Moisture can prevent the silicone adhesive from adhering properly. You can use a hairdryer to speed up the process, but make sure that every corner is perfectly dry.
Check if there are gaps or cracks
During the preparation phase, it is the ideal time to identify any gaps or cracks in the corners of the shower enclosure. Any structural damage should be addressed before sealing. If you notice problems, consult a professional for the necessary repairs.
Protect the surfaces
Use some adhesive tape to delimit the areas to be sealed precisely. This will help obtain a clean and uniform finish. Make sure the tape is positioned so that the silicone does not expand beyond the desired areas.
To silicone the shower enclosure and obtain an impeccable result, the preparation of the work surface is the first fundamental step. Once the work surface is prepared as explained, let us then see together how to prepare the silicone to seal the shower enclosure.
Apply the silicone for the shower enclosure sealing
Before starting, it is important to make sure you have the specific silicone available to seal shower enclosures, which offers superior resistance to moisture and water.
- Choose the right silicone: Start by choosing a silicone specifically designed for sealing wet areas like the shower enclosure. Make sure that the silicone packaging clearly indicates its suitability for wet environments or bathrooms. This type of silicone is formulated to resist constant humidity and water, preventing its deterioration over time.
- Cut the Nozzle: After choosing the appropriate silicone, prepare the silicone tube by cutting the tip of the nozzle. Use a cutter or a pair of scissors to create an opening that matches the desired dimensions of the details to be sealed. The opening should be small enough to allow precise control of the silicone flow.
- Take the silicone: Insert the silicone tube into the silicone gun. Make sure it is well secured and ready for use. Before starting the application, perform a small test on a piece of paper or cardboard to adjust the silicone flow and get a feel for the movement of the gun.
- Check the flow output: Slowly push the trigger of the gun to release the silicone while moving it along the areas to be sealed. Make sure to apply a uniform amount of silicone along the entire perimeter of the shower enclosure. The goal is to completely fill the surfaces and create an airtight barrier.
- Check the consistency of the Silicone: Check that the silicone is uniform and well distributed along the desired area. Avoid excess silicone, as it can create an unappealing seal. Immediately after applying the silicone, use a damp finger, or a specific tool, to level and smooth the surface. This step is fundamental to obtain a uniform and aesthetically pleasing seal. Make sure to work continuously to prevent the silicone from drying before being smoothed. Then let the product settle for a few minutes, but not for the entire period of time scheduled for its total drying.
- Remove the adhesive tape: Before the silicone dries completely, carefully remove the adhesive tape to prevent it from sticking to the seal, compromising its stability and complete adhesion to the surfaces.
- Allow the silicone to dry: for a perfect shower enclosure seal, leave the silicone to dry for the time indicated on the product instructions. Avoid using the shower during this period to ensure proper setting of the silicone.
After carefully and precisely executing these steps, you will have correctly siliconed the shower enclosure. However, your work is not finished yet: you will have to bring your shower enclosure back to being perfectly clean and usable, so let's see how to remove any splashes and debris that may have formed during the process to complete this work and leave no traces.
If you should realize that you have done some parts of the shower enclosure with a bit too much product, use a cutter to surgically remove all excess silicone sections. Warning: when using the cutter or other particularly sharp tools, be careful and make sure not to scratch or damage the surrounding surfaces in any way.
Another fundamental factor to give a long lifespan to this work is periodic maintenance. Check from time to time the state of the silicone and perform small touch-ups in the areas where you notice that some has come off, to delay the execution of this work from scratch as much as possible.
Once these steps are completed, you will have finished sealing the shower enclosure and you will be able to use this element of the bathroom in complete safety, without fearing water leaks or accumulations of mold and other debris.
Remember to clean constantly and with the right products all elements of the shower enclosure, which will significantly affect the lifespan of each component of this bathroom article.


