

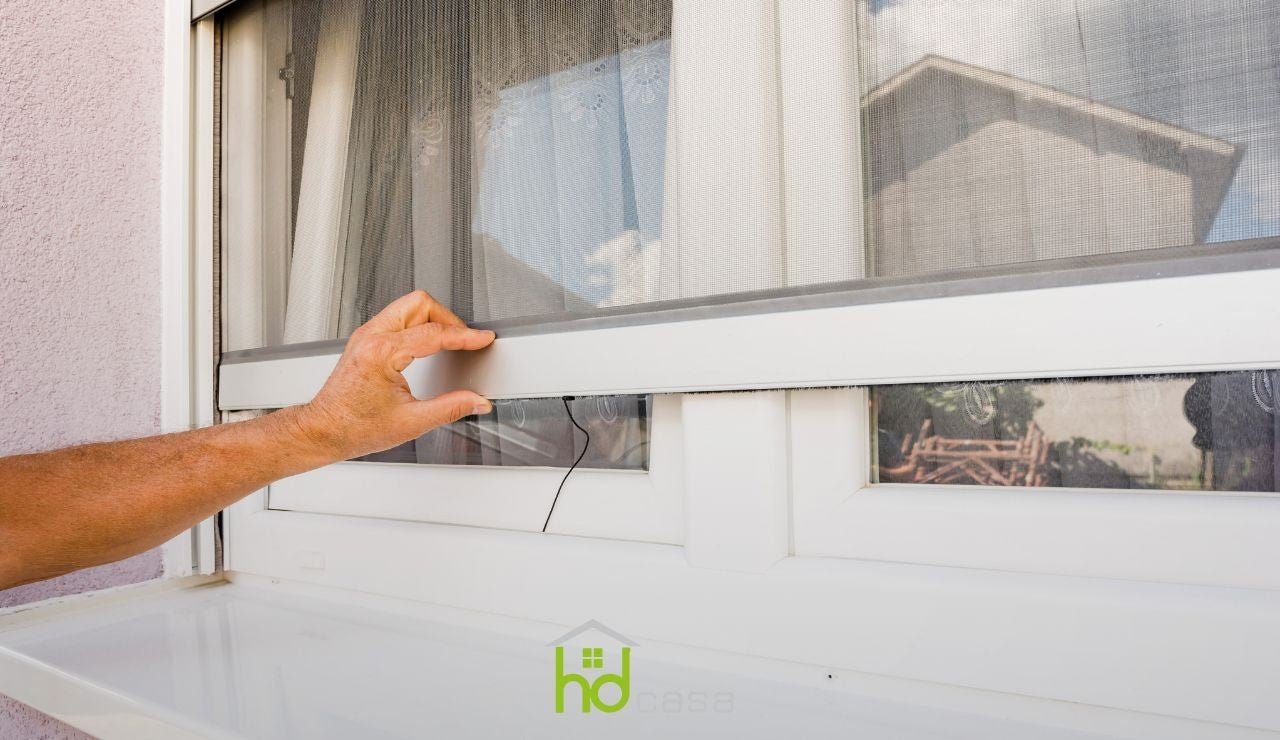
If you need to know how to replace the mesh of mosquito screens in the correct way, you are in the right place.
With the arrival of summer, having mosquito screens in perfect condition becomes of vital importance.
Flies, midges, mosquitoes, and other small animals must not represent a problem for you.
In this article we will see, step by step, how to replace the mesh of mosquito screens in the correct way.
How to take measurements to replace mosquito screens
Before seeing how to replace the mesh of the mosquito screen, the new mesh must be cut to measure of the old one.
Therefore, should the old one no longer be available, you must buy a new one.
But to do so, it is necessary that you take the measurements well, especially to be sure that it is perfectly compatible.
To take measurements correctly:
- Measure the height of the opening.
- Add 20 cm: the height of the mesh will turn out to be H+20 cm.
- Measure the width of the opening.
- Subtract 2 cm in the case of a mosquito screen with a brush pile, 2.5 cm in the case of mosquito screens with buttons, 3.5/4 cm in the case of a model equipped with a chain.
Once the correct measurements are clear, you can proceed with the replacement.
Types of mosquito screen mesh
On the market there are several types of mesh available which differ in installation and the fabric used.
- Standard fiberglass mesh: has a good level of protection and a decent hold. This is one of the most widespread meshes ever and is mostly used for roll-up mosquito screens.
- Striped mesh: greater visibility of the mesh itself. This is a type of mesh with light gray stripes alternating with dark gray stripes.
- Filtering fabric mesh and blackout fabric mesh: composed respectively of fabrics that allow, in a reduced percentage, the passage of light and, vice versa, fabrics that totally shade the rooms.
- Aluminum mesh: lightweight and with a decent mechanical resistance. It is mostly used in homes because it has a strong resistance to the sun and atmospheric agents. This type of mesh is applicable only to fixed-panel, sliding, or hinged mosquito screens.
- Steel mesh: robust and with good visibility. It is a mesh characterized by excellent water resistance, a good air inflow, and good external visibility. This type of mesh is applicable only to fixed-panel, sliding, or hinged mosquito screens.
- Pleated mesh: folded on itself with a fan effect. It guarantees good protection from the sun and is specifically designed for spaces with reduced dimensions.
Replacing a roll-up mosquito screen
For changing the mesh of roller mosquito screens, you need a few tools:
- Screwdriver
- Pliers
- Cloth or sheet
Let's now see in detail how to replace the mesh of mosquito screens.
First of all, it is necessary for the mesh to be completely rolled up.
Afterwards:
- Dismantle the 2 side profiles using the screwdriver.
- Remove the brackets that hold the box, using the pliers.
- Extract the roller and place it on a sheet or cloth so as not to damage the floor.
- Unscrew the side end caps of the roller always using the screwdriver. Be careful not to let the spring snap.
- Slowly slip off the end cap from the box.
- Slip out the entire mesh tube and mesh profile from the box.
- Detach the mesh from the tube.
On the sides of the handle profile, there are 2 sliders, i.e., plastic accessories, fixed to the mesh with 2 rivets.
So:
- Remove the rivets using a drill.
- Extract the sliders from the handle profile.
- Slip out the mesh from the handle profile.
At this point, slip out the rod from the mesh pocket.
Installing the new mosquito screen mesh
The actual installation to complete the replacement of the roll-up mosquito screen consists in performing the disassembly steps in reverse.
The tools are the same as those used to dismantle the old mosquito screen, with the addition of double-sided tape or masking tape.
Therefore, a quick recap:
- Insert the rod into the mesh.
- Insert the mesh into the handle profile.
- Insert the 2 sliders.
- Make a small hole in the strap.
- Insert the rivets inside.
- Attach the mesh to the tube using double-sided tape or masking tape.
- Wind the mesh onto the tube.
- Slip everything inside the box.
- Turn the plastic end cap for 20 rotations to wind up the spring.
- Close and screw in.
How to replace the mesh of a fixed mosquito screen
The steps for the replacement of a fixed mosquito screen do not differ much from those to be followed for a roll-up one.
In detail:
- Dismantle the frame and lay it on a flat surface.
- Lift the tab or rubber gasket using a screwdriver.
- Cut a piece of new mesh large enough to cover the entire frame, leaving a border of about 10/15 cm on each side.
- Fix the mesh on the short side of the frame using 2 pliers, so as to keep it spread out and taut as you unroll it to the opposite side.
- Insert the first side, starting from the one opposite to the pliers, and once fixed, proceed with the other sides.
- Trim, using the cutter, the excess mesh along the edges.
By following this brief guide, knowing how to replace the mesh of mosquito screens will no longer represent a problem.
Make use of a brand new mesh and proceed with the replacement, guaranteeing yourself and all members of the family an insect-proof summer.
If your mosquito screen replacement is part of the renovation of the entire house, do not miss the bathroom trends planned for this year.


