

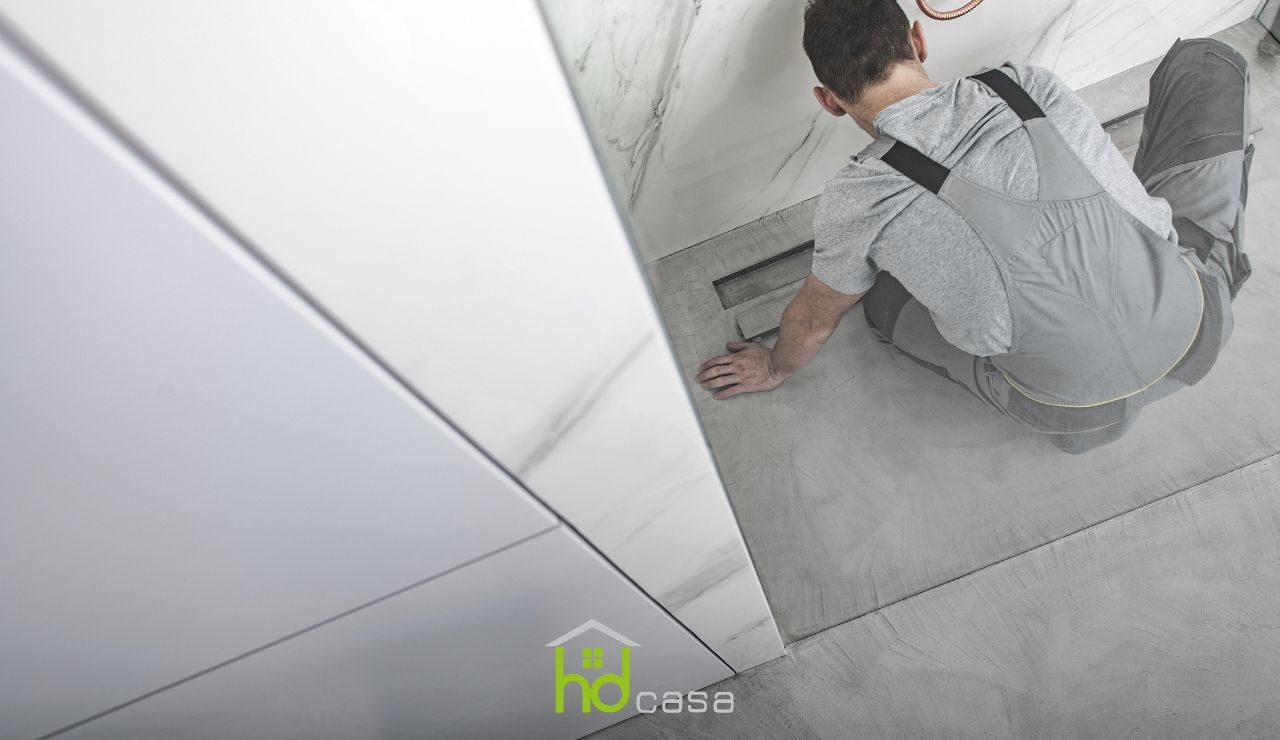
Installing a shower tray is a step as fundamental as it is executable independently, allowing you to save at least the cost of qualified professional labor if you possess a bit of courage and the right tools to do it.
For this reason, in this article we will explain how to install the shower tray one step at a time, to make every activity that will lead you to having a shower tray installed in the bathroom simple and fast.
What you need to install a shower tray
To install the shower tray, you will need a series of products and tools. Among the tools that will be useful to you:
- Adjustable wrench;
- Spirit level;
- Drill with concrete drill bits;
- Tape measure and a silicone gun.
In addition, you will need the following materials:
- Chosen shower tray;
- Wall plugs and bolts for fixing;
- Waterproof gaskets;
- Silicone sealant;
- Leveling base (if necessary).
Do you already know where to install the shower tray? You must choose it first
The choice of the installation location is equally crucial.
Make sure to choose a position that is easily accessible, that allows the correct drainage of water towards the waste system, and that is adequately reinforced to support the weight of the shower tray and its users.
When you measure the installation location, remember to consider the dimensions of the shower tray, to ensure there is enough space to access the underlying plumbing connections.
These preparatory steps are fundamental for a trouble-free shower tray installation, and they will help you achieve a satisfactory result. Before proceeding with the installation, make sure you have all the listed tools and materials at your disposal, as this will make the process more efficient and ensure proper placement and fixing of the acrylic or ceramic shower tray, thus helping to avoid future problems and guaranteeing its durability.
Installing an acrylic shower tray
When installing an acrylic shower tray, it is fundamental to follow a detailed description of the steps to ensure an optimal result. Before starting, make sure you have at hand all the tools and materials listed in the previous section, such as an adjustable wrench, wall plugs, silicone sealant, and more.
- Preparation of the installation site: Measure and accurately mark the point where the shower tray will be positioned, making sure it is at the correct level. Use a spirit level to verify that the surface is perfectly horizontal and add a base to ensure that the leveling is correct and, if necessary, align it as you go.
- Positioning of the shower tray: Carefully place the shower tray in the prepared area. Make sure it fits perfectly into the chosen position and that there are no empty spaces or gaps between the tray and the floor. This step is essential to avoid unwanted water leaks.
- Fixing of the shower tray: Use the appropriate wall plugs and bolts to firmly secure the shower tray to the floor. Make sure to follow the manufacturer's instructions regarding the layout of the fixing points. Proper fixing will guarantee the stability of the shower tray and prevent unwanted movements over time.
- Waterproof sealing: Apply the right amount of silicone sealant along the perimeter of the shower tray, making sure to seal the corners and joints between the tray and the wall well with silicone. This sealing will prevent water infiltration into the subfloor and help prevent any damage from moisture.
- Illustrations and explanatory images: Throughout the process, it is useful to consult illustrations and explanatory images that can be found in the shower tray installation manuals or online resources. These images can provide a visual guide to help you better understand the steps and avoid common mistakes.
- Tips to avoid common mistakes: Some common mistakes to avoid include installing on unlevel surfaces, using inappropriate fixing materials, or applying insufficient sealant. Always make sure to carefully follow the manufacturer's instructions and, if you have doubts, consult a plumbing professional for proper installation.
By following these detailed steps and using explanatory illustrations, you will be able to install an acrylic shower tray correctly and without common mistakes. Proper placement and fixing will guarantee the durability of your new shower tray, preventing future problems.
How to install a ceramic shower tray
Fixing a ceramic shower tray presents some key differences compared to acrylic that are important to consider. To start, make sure you have all the necessary tools and materials listed previously.
- Preparation of the installation site: Accurately measure the desired position for the ceramic shower tray, following the same indications given for the acrylic. Make sure the surface is perfectly horizontal and that corrections are made with a leveling base if necessary.
- Positioning of the ceramic shower tray: Unlike acrylic, a ceramic shower tray is generally heavier, so it requires greater attention during positioning. Make sure to carefully position the ceramic shower tray in the prepared area, avoiding excessive stress on the surface to prevent breakage.
- Fixing of the shower tray: Fixing the ceramic shower tray requires special attention. Use robust wall plugs and bolts to ensure optimal stability. Make sure to distribute the pressure evenly over the fixing points to prevent the shower tray from breaking or cracking.
- Waterproof sealing: Applying silicone sealant along the perimeter of the ceramic shower tray is similar to that of the acrylic and plays a crucial role in preventing water infiltration. Make sure to carefully seal all joints to prevent moisture damage.
- Respecting the key differences: It is important to emphasize that ceramic is more resistant to wear and abrasion compared to acrylic but requires greater care during installation due to its weight and fragility.
- Tips to avoid common mistakes: Common mistakes to avoid include overloading the ceramic shower tray, using inadequate fixings, or incorrect application of the sealant. Pay attention to details, follow the manufacturer's instructions, and, if necessary, seek the help of an experienced professional to ensure a safe and durable installation.
By carefully following this step-by-step guide and using the right tools and materials, you will be able to install a ceramic shower tray safely and correctly, avoiding common mistakes and guaranteeing its durability over time. Accurate positioning and fixing are essential to ensure the stability and functionality of this element of the shower enclosure.
Now you know, through short and simple explanations, the main steps to perform to install a shower tray in your bathroom safely and independently.
So let's take a step back to understand the importance of some steps which, even if performed differently, are common to both shower tray installation processes just explained: the fixing and sealing process, the importance and correct method for verifying and testing that the shower tray installation has been performed correctly, and, last but not least, how to keep your shower tray clean to ensure that its beauty remains unchanged over time.
Fixing: its importance in shower tray installation
The importance of proper fixing in the installation of a shower tray is crucial to guarantee the stability and safety of the installation.
Using wall plugs and bolts is an essential practice to obtain optimal stability. These components provide a solid anchor for the shower tray, ensuring that it remains firmly positioned over time, avoiding unwanted movements that could cause structural damage or water infiltration. Furthermore, correct sealing serves to avoid water infiltration. By applying silicone sealant along the perimeter of the shower tray and on all joints, a waterproof barrier is created that protects the subfloor and prevents potential moisture damage.
Proper fixing with wall plugs and bolts, accompanied by careful sealing, constitutes a fundamental element in the installation of a shower tray, helping to guarantee its stability, durability, and the prevention of costly future problems.
Testing and verifying that the shower tray installation has been performed correctly
To verify the stability and waterproofness of the shower tray after installation, it is essential to follow some key steps.
- First, carefully check if the shower tray is stable and does not move when you apply moderate pressure to it. Make sure there are no suspicious wobbles or movements.
- Perform leak tests to detect any leaks. Fill the shower tray with water to a moderate depth and check if there are water leaks on the underside or along the joints between the tray and the floor or walls.
- If you notice leaks, it is crucial to make the necessary corrections. To do this, remove the existing sealant and reapply a new strip of silicone along the problematic joints. Make sure it is evenly distributed and well pressed down to achieve an optimal seal.
If you cannot achieve an even application, it may be necessary to re-perform the fixing of the wall plugs and bolts, checking that they are firmly anchored to the floor.
A well-executed installation and a correct seal are fundamental to avoid moisture damage and guarantee the longevity of your shower tray.
After shower tray installation: maintenance and cleaning
To ensure that your shower tray remains in excellent condition over time and to prolong its lifespan, follow these tips for regular maintenance and effective shower tray cleaning:
Tips for regular maintenance of the shower tray:
- Drying: After each use, dry the shower tray with a cloth or sponge to avoid the formation of water spots and scale.
- Daily cleaning: Remove soap residue and dirt with a solution of water and mild detergent. Avoid the use of abrasive products that could damage the surface.
- Checking the integrity: Regularly check the joints and sealant around the shower tray to make sure they are still in good condition. If you notice cracks or gaps, replace the sealant.
- Avoid heavy objects: Avoid placing heavy or sharp objects on the shower tray to prevent scratches or breakage.
- Grout maintenance: Make sure that the drainage system and the grout lines are free of obstructions. Use a specific product for pipe cleaning to keep them free of debris.
Recommendations for cleaning and limescale removal:
- Periodic cleaning: Perform a deeper cleaning of the shower tray at least once a week. Use a non-abrasive sponge or a cloth with a degreasing and limescale-removing detergent to remove scale and limescale.
- White vinegar: If there are stubborn limescale deposits, you can apply pure white vinegar on the surface, let it act for a few minutes, and then rub with a sponge to remove the limescale.
- Grout brush: For the grout between the tiles, use a specific brush or an old toothbrush with a solution of water and baking soda to remove accumulated dirt.
- Avoid aggressive products: Avoid using aggressive or abrasive chemical products that could damage the surface of the shower tray or the sealant.
- Thorough rinsing: After cleaning, rinse thoroughly with warm water to remove all detergent residue.
These regular maintenance and cleaning practices will contribute to keeping your shower tray in excellent condition and preventing the formation of scale or damage. By following these tips, you can prolong the lifespan of your shower tray and always keep it in optimal conditions.
By following the advice in this complete guide to shower tray installation, performing all activities associated with this job and preserving the healthiness and beauty of this element of your shower will be a simple operation to perform and will help you do a job that can, in addition to saving you some money, give you some small satisfaction in having actively contributed to the completion of the work.


