

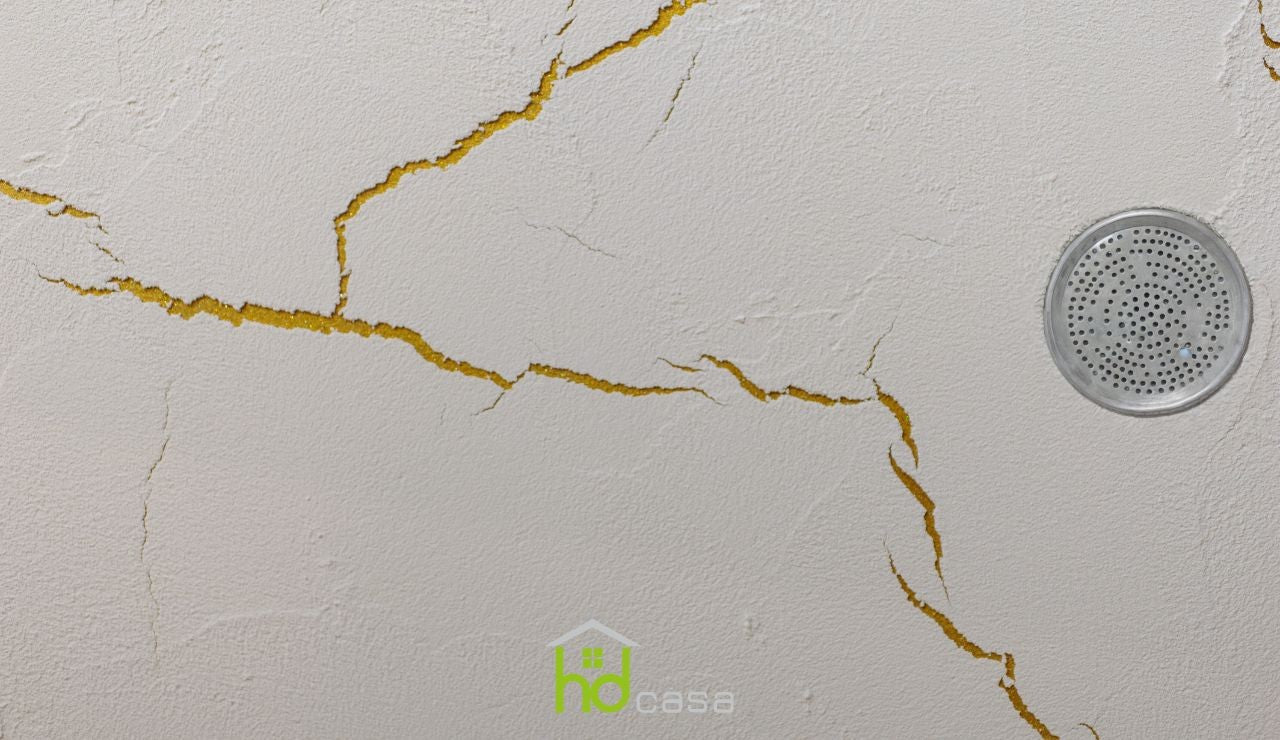
A cracked shower tray can ruin the structure of the shower itself, compromising its use; for this reason, it becomes of vital importance to want to repair it.
The shower must be a moment of relaxation, dedicated to personal care, and for this reason, it is good for each of its components to be in excellent condition.
If you notice a crack, scratches, or any other small damage, know that repairing a shower tray is an easily achievable operation with your own hands; in this article we will see together how to do it.
Causes of a cracked or damaged shower tray
A shower tray, if chosen of high quality, guarantees you excellent durability over time.
Despite this, however, it can happen that cracks or lesions appear, depending on several factors:
- Fall of a heavy object.
- Cleaning with overly aggressive detergents.
- Incorrect installation.
- Seismic shocks.
- Limescale.
Whatever the reason, you must solve the problem in the shortest possible time to avoid much more serious damage.
Ceramic or acrylic shower tray repair
Ceramic and acrylic are two very resistant materials, so it is very difficult for cracks to appear on the shower tray.
It is difficult but not impossible, so if you notice damage you can proceed with the repair.
To do this, you need:
- Specific repair kit of the right shade for your shower tray.
- Specific detergent.
- Cleaning cloth.
- Sandpaper.
- Waterproof paint.
For the procedure, follow these steps:
- Thoroughly clean the shower tray to avoid working on dirt and to prevent the formation of permanent stains.
- Use the repair kit and follow the directions on the manufacturer's label.
- Wait the time indicated on the packaging.
- Sand the treated part using thin sandpaper, only when you notice that the previously used product is completely dry.
- Apply waterproof paint that protects the repair and the entire shower tray.
At this point, you only have to wait about 48 hours before starting to use your shower regularly again.
Stone shower tray repair
To repair a stone shower tray, you must assess the extent of the damage to understand the cause in detail and take accurate measures.
For small repairs:
- Carefully check the shower tray to locate the position and extent of the cracks. Also assess the general stability of the shower tray and the surrounding structure.
- Fill the cracks with a specific mastic or adhesive for stone, if they are superficial. Make sure to choose a product suitable for stone and follow the manufacturer's instructions.
If the cracks are serious and compromise the state of the shower tray, you must proceed with removing the damaged shower tray and replacing it with a new one.
In addition to choosing a high-quality one, install the shower tray correctly; if you are not sure how to proceed, consult a professional.
Fiberglass shower tray repair
If your shower tray is made of fiberglass, before starting any type of repair, make sure it is clean and free of any residue or dirt.
To do this you need some tools:
- Sandpaper with minimum thickness.
- Transparent epoxy resin.
- Putty.
- Large brush.
- Transparent sealing varnish.
- Mild detergent.
- Soft cloth.
Then use a mild detergent and a soft cloth to clean the surface.
Afterward, check the cracks to understand the severity of the damage and decide what type of repair to carry out.
If the cracks are superficial, use a transparent epoxy resin specifically designed for repairing resin shower trays.
For the procedure:
- Use sandpaper and scratch the area to make the surface porous. In this way, the resin will stick more easily.
- Clean the area again using the vacuum cleaner and a dry cloth.
- Apply the resin with the help of a brush.
- Then use a putty suitable for resin for any imperfections or smaller cracks.
- Allow to dry completely following the manufacturer's instructions.
- Gently sand the surface of the shower tray with fine-grit sandpaper, once the resin and putty are dry. In this way, you will get a smooth and uniform surface.
To conclude, apply a sealant or a transparent varnish to protect the repair and ensure good conditions for the shower tray over time.
Preventing the appearance of cracks in the shower tray
In order not to run into a cracked shower tray, there are precautions you can put in place:
- Make sure the shower tray is installed correctly. Proper installation reduces the risk of structural movements which over time can cause the formation of cracks.
- Choose a shower tray made of high-quality materials. They are less prone to the formation of cracks or wear compared to lower quality materials.
- Perform regular cleaning and maintenance to remove dirt, soap, and other residues that could accumulate on the surface and cause damage over time.
- Avoid the use of sharp or abrasive objects on the surface of the shower tray to prevent causing scratches or damage.
- Use non-slip mats inside the shower to reduce the risk of falls that could damage the shower tray,
- Regularly check that there are no leaks or water infiltrations which over time can lead to the formation of cracks.
- Intervene promptly if you notice damage, cracks, or any signs of wear, before the situation becomes more serious.
By following these brief tips and taking the necessary precautions, you will keep your shower tray in good condition over time, preventing the possibility of having a cracked or damaged shower tray.
By doing so, you can enjoy a perfectly functioning shower that guarantees relaxation and comfort with every use.


