

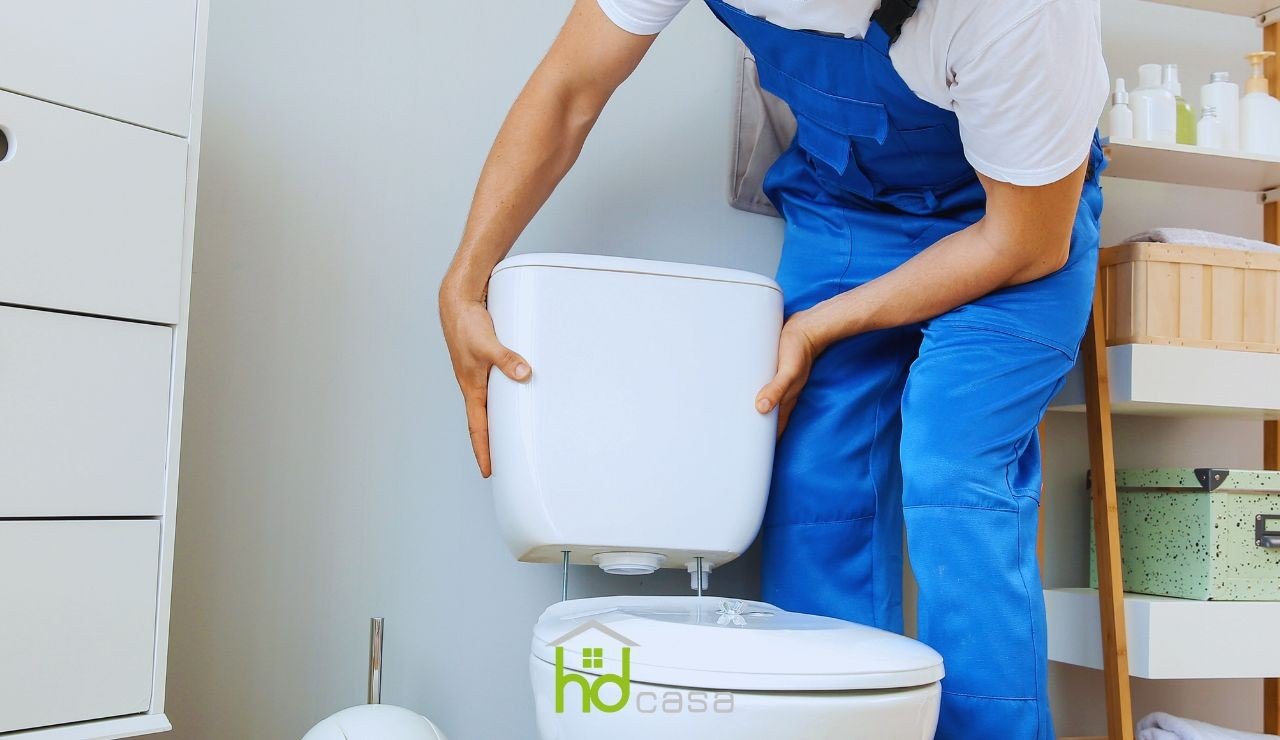
If you are dealing with the renovation or construction of your home's bathroom, and the time has come to proceed with the toilet installation and you want to understand if you could take care of it independently, or if you really need the intervention of designated professionals, you are in the right place.
The correct installation of a toilet is necessary to guarantee the proper functioning of the plumbing system and prevent future problems.
Whether you are facing a new construction or the renovation of an existing bathroom, following a detailed procedure will help you obtain professional results.
This tutorial will guide you step by step through the entire process, providing clear indications and practical advice to perform the installation effectively and safely.
Items needed for toilet assembly
Before starting the toilet installation, you must have all the necessary tools and materials available. Accurate preparation guarantees a smoother job and reduces the risk of interruptions. Here is the detailed list:
Indispensable tools:
- Adjustable wrench: to tighten and loosen nuts and bolts of various sizes.
- Flat-head and Phillips screwdrivers: useful for removing or fixing screws.
- Drill with masonry bits: necessary for drilling holes in the floor or wall to fix the various items.
- Spirit level: to ensure that the toilet is perfectly level.
- Hacksaw for metal: useful for cutting pipes or bolts, if necessary.
- Utility knife (cutter): for removing old sealants or cutting materials.
- Bucket and sponge: to collect any water residue and clean the work area.
- Protective gloves: to protect hands during operations.
Required materials and components:
- New toilet: make sure it is complete with all necessary components, such as the flush cistern, the seat, and the gaskets.
- Wall plugs and fixing screws: specific for the type of floor or wall on which you will install the toilet.
- Sealing gaskets: for the connection between the toilet and the drain, and between the toilet and the flush cistern.
- Drain pipe (braga): compatible with the existing drain system.
- Water supply pipe: to connect the flush cistern to the water system.
- Anti-mold silicone sealant: to seal the joints and prevent water infiltration.
- Teflon tape: to guarantee the tightness of the threaded connections.
Once you have obtained and well organized the complete arsenal of necessary tools and accessories, you can proceed to prepare the area where you have decided to mount the toilet for the entire procedure.
Prepare the area where you want to mount the toilet for the works
Before proceeding with the toilet installation, perform some preliminary operations to guarantee a safe and efficient job.
Water shut-off:
- Locate the shut-off valve: Generally located near the toilet or along the main pipe.
- Close the valve completely: Turn it clockwise until it locks, thereby interrupting the water supply.
- Empty the flush cistern: Flush the toilet to eliminate residual water.
- Remove the remaining water: Use a sponge, a cloth, or a liquid vacuum cleaner to completely dry the cistern and the toilet.
Verification of the existing plumbing system:
- Check the condition of the pipes: Ensure there are no leaks, corrosion, or obvious damage.
- Evaluate the position of the drain: Determine if the drain is on the floor or on the wall, as it will influence the type of toilet to be installed.
- Measure the distance from the wall to the drain: This measurement, called "center-to-center distance" (interasse), is essential for choosing a compatible toilet.
Measurements and space planning:
- Verify the available space: Ensure there is sufficient space for the toilet, also considering the opening and closing of the bathroom door.
- Plan the installation: Consider the possible presence of other sanitary ware or furniture that could interfere with the positioning of the toilet.
- Mark the fixing points: Use a pencil to mark on the floor or wall the points where the holes for fixing the toilet will be drilled.
Accurate preparation serves to prevent problems during installation and guarantee a satisfactory final result.
Removal of the existing toilet (if applicable)
If you are replacing an already installed toilet, remove it correctly to avoid damage to the plumbing system and adequately prepare the area for the new installation.
Drainage of residual water:
- Empty the flush cistern: After closing the shut-off valve, operate the flush to eliminate the water present in the cistern.
- Remove the remaining water: Use a sponge or a liquid vacuum cleaner to absorb any water residues both in the cistern and in the toilet bowl.
Removal of fixings and sealant:
- Disconnect the supply pipe: With an adjustable wrench, loosen the nut connecting the water supply pipe to the flush cistern.
- Remove the fixing bolts: Locate the bolts that anchor the toilet to the floor; they are usually covered by decorative caps. Remove the caps and unscrew the bolts with an appropriate wrench.
- Cut the sealant: If the toilet is sealed to the floor with silicone or mastic, use a cutter to carefully cut the sealant along the base of the toilet.
Removal of the toilet:
- Gently rock the toilet: Move the toilet back and forth to break any residual seals and loosen the drain gasket.
- Lift the toilet: Carefully lift the toilet from its position. Consider that it might be heavy; if necessary, ask for assistance to avoid injuries.
- Temporarily plug the drain: To prevent the escape of drain gases, insert a cloth or a plug into the floor drain.
Cleaning of the installation area:
- Remove the old gasket: Eliminate any residues of the wax or rubber gasket from the drain.
- Clean the surface: Ensure the floor is clean and free of debris or sealant residues.
- Inspect the drain: Verify that the drain is in good condition and free of obstructions.
A careful removal of the old toilet prepares the area for a smooth new installation, guaranteeing the correct functionality of the new sanitary fixture.
Installation of the new toilet
After completing the preliminary operations and, if necessary, removing the old toilet, it is time to proceed with the installation of the new sanitary fixture. Carefully follow the described steps to guarantee a correct and durable assembly.
The process of installation of a wall-hung toilet is different from the one with a floor connection, and might require partly different assembly instructions.
Positioning and alignment:
- Preparation of the drain flange: Ensure the drain flange is clean and in good condition. If damaged, replace it with a new one.
- Installation of the gasket: Position a new wax or rubber gasket on the drain flange. This gasket ensures a tight seal between the toilet and the drain.
- Positioning of the toilet: Lift the toilet and carefully align it above the flange, ensuring the mounting holes coincide with those on the floor. Lower the toilet onto the gasket, exerting slight pressure to guarantee adhesion.
Fixing to the floor:
- Insertion of the bolts: Insert the fixing bolts through the holes at the base of the toilet, ensuring they are well positioned.
- Tightening of the nuts: Screw the nuts onto the bolts and tighten them gradually, alternating sides to maintain uniform pressure. Avoid overtightening so as not to damage the ceramic.
- Installation of the caps: Once the toilet is fixed, position the decorative caps on the bolts for a clean and finished appearance.
Connection to the drain and water supply:
- Connection of the drain pipe: If the toilet uses an external drain pipe, connect it ensuring it is well inserted and sealed.
- Connection of the water supply: Connect the water supply pipe to the cistern's fill valve, using teflon tape on the threads to guarantee a watertight seal.
- Water opening and verification: Slowly open the shut-off valve to fill the cistern. Carefully check for any leaks both in the water connection and at the base of the toilet.
By following these steps carefully, you will guarantee a correct and functional installation of your new toilet.
Let's then see together what the final steps are for sealing the new toilet and the micro-steps that will guarantee the completion of the work.
Seal the new toilet and proceed with the final touches
After having correctly installed and connected the new toilet, let's see how to proceed with the sealing and final finishes to guarantee a watertight seal and the preservation of your toilet's appearance.
Application of the silicone sealant:
- Preparation of the surfaces: Ensure the base of the toilet and the surrounding floor are clean and dry. Remove any dust or debris residues.
- Protection of the surrounding areas: Apply adhesive tape along the edges of the base of the toilet and on the adjacent floor to obtain clean and precise sealing lines.
- Application of the silicone: Use a high-quality anti-mold silicone sealant, preferably transparent or white, based on your aesthetic preferences. With a silicone gun, apply a uniform bead along the perimeter of the base of the toilet, completely filling the space between the sanitary fixture and the floor.
- Smoothing of the sealant: With a moistened finger or a specific tool for smoothing silicone, pass gently over the newly applied bead to make it uniform and remove any excesses.
- Removal of the adhesive tape: Before the silicone begins to harden, carefully remove the adhesive tape to avoid smudges.
- Drying time: Allow the silicone to dry for the time indicated by the manufacturer, usually 24 hours, before using the toilet or cleaning the area.
Verification of stability and leaks:
- Stability check: After the silicone has dried, verify that the toilet is stable and does not present movements or wobbles.
- Plumbing connections test: Operate the flush and carefully observe any water leaks both in the flush cistern connections and at the base of the toilet.
- Final inspection: Examine the entire installation to ensure all connections are secure and that there are no signs of leaks or defects.
Accurate sealing and careful verification guarantee the longevity of the installation and prevent future problems related to water infiltration or instability of the sanitary fixture.
Watch out for the regulations to comply with to execute a proper job
In Italy, the installation of sanitary fixtures, including the toilet, must comply with specific regulations aimed at guaranteeing safety, hygiene, and accessibility. Being aware of these provisions guarantees that the work performed complies with current laws.
Requirements according to current Italian regulations:
- Minimum height of the rooms: According to the Ministerial Decree on Health of July 5, 1975, the minimum height of rooms used as toilets must be 2.40 meters.
- Ventilation: It is mandatory for each bathroom to be equipped with an opening to the outside or, alternatively, with a mechanical ventilation system to guarantee adequate air exchange.
- Accessibility for disabled people: In public buildings or buildings open to the public, at least one toilet must be accessible to people with disabilities, respecting the dimensions and provisions provided by the Ministerial Decree of June 14, 1989, n. 236.
Tips to guarantee compliance:
- Consult the local building regulations: In addition to national regulations, verify the specific provisions of the Municipality to which you belong, as they can vary based on the location.
- Verify the distances between sanitary fixtures: Ensure that the minimum distances provided are respected between the toilet and other sanitary fixtures or walls to guarantee comfort and functionality.
- Use compliant materials: Choose products and materials that respect Italian and European certifications and standards, ensuring quality and safety.
Complying with current regulations guarantees the legality of the installation and ensures you complete a job considered safe.
Toilet assembly: precautions and errors to avoid
The installation of a toilet requires attention to details to guarantee optimal and durable functioning. Here is some useful advice and the most common errors to avoid during the process.
Tips for an optimal installation:
- Read the manufacturer's instructions carefully: Each toilet model can present specific particularities; following the provided indications ensures a correct installation.
- Use quality materials: Opt for high-quality gaskets, screws, and sealants to prevent leaks and guarantee the longevity of the installation.
- Verify the compatibility of components: Ensure that all components, such as the drain pipe and the flush cistern, are compatible with each other and with the existing system.
- Keep the work area clean: An orderly zone reduces the risk of errors and facilitates access to the necessary tools.
Frequent errors and how to prevent them:
- Not leveling the toilet correctly: A toilet that is not perfectly level can cause functioning problems and leaks. Use a spirit level to ensure it is positioned correctly.
- Overtightening the fixing bolts: Excessive tightening can cause the breakage of the ceramic. Tighten the bolts until the toilet is stable, without exaggerating.
- Forgetting to seal adequately: Poor sealing can lead to water infiltration and floor damage. Apply the silicone sealant along the base of the toilet and verify that all connections are well sealed.
- Not checking for leaks after installation: After completing the installation, carefully check that there are no water leaks both in the plumbing connections and at the base of the toilet.
Paying attention to these details and following the advice provided will help you avoid inconveniences and guarantee a safe and efficient toilet installation.
Maintenance and care of the toilet
Correct maintenance of the toilet serves to guarantee that the toilet's functionality lasts over time and to prevent common problems such as leaks, blockages, or malfunctions. Here is some practical advice to keep your toilet in optimal conditions.
Regular cleaning:
- Inside of the bowl: Use specific toilet cleaners to remove stains and limescale deposits. A weekly cleaning helps prevent the accumulation of stubborn dirt.
- Outside of the toilet: Clean the external surface with a soft cloth and a mild detergent to avoid scratches and maintain the aesthetic appearance.
- Seat and lid: Periodically remove the seat, if possible, to thoroughly clean the hinges and hidden surfaces. This prevents the accumulation of bacteria and maintains hygiene.
Periodic checks:
- Leak verification: Regularly check the base of the toilet and the plumbing connections to detect any signs of water leaks. An untreated leak can cause structural damage and increase water consumption.
- Functioning of the flush cistern: Ensure that the cistern fills and drains correctly. If you notice that water continues to flow after flushing, it might be necessary to replace the gasket or adjust the float.
- Integrity of the gaskets: Gaskets can deteriorate over time, causing leaks. Periodically check the condition of the gaskets and replace them if necessary.
Clog prevention:
- Correct use: Avoid throwing unsuitable materials into the toilet such as wet wipes, sanitary pads, or solid objects. These can cause obstructions that are difficult to remove.
- Chemical products: Limit the use of aggressive chemical products to unblock the toilet, as they can damage the pipes. In case of persistent clogs, it is advisable to contact a professional.
By following these tips, you can maintain your toilet in perfect conditions, guaranteeing hygiene and functionality over time.
Installing a toilet requires attention, precision, and a good knowledge of the correct procedures. By carefully following the steps described in this guide, you will be able to perform the installation safely and efficiently, whether it is a new installation or a replacement.
Remember the importance of respecting the current regulations in Italy to guarantee safety and legal compliance. Regular maintenance of the toilet will ensure a long duration and optimal functioning over time.
If, during the process, you encounter difficulties or have doubts, do not hesitate to consult a professional. The correct installation of a toilet is an essential step to proceed with the rest of the works that will lead to the completion of this room.


