

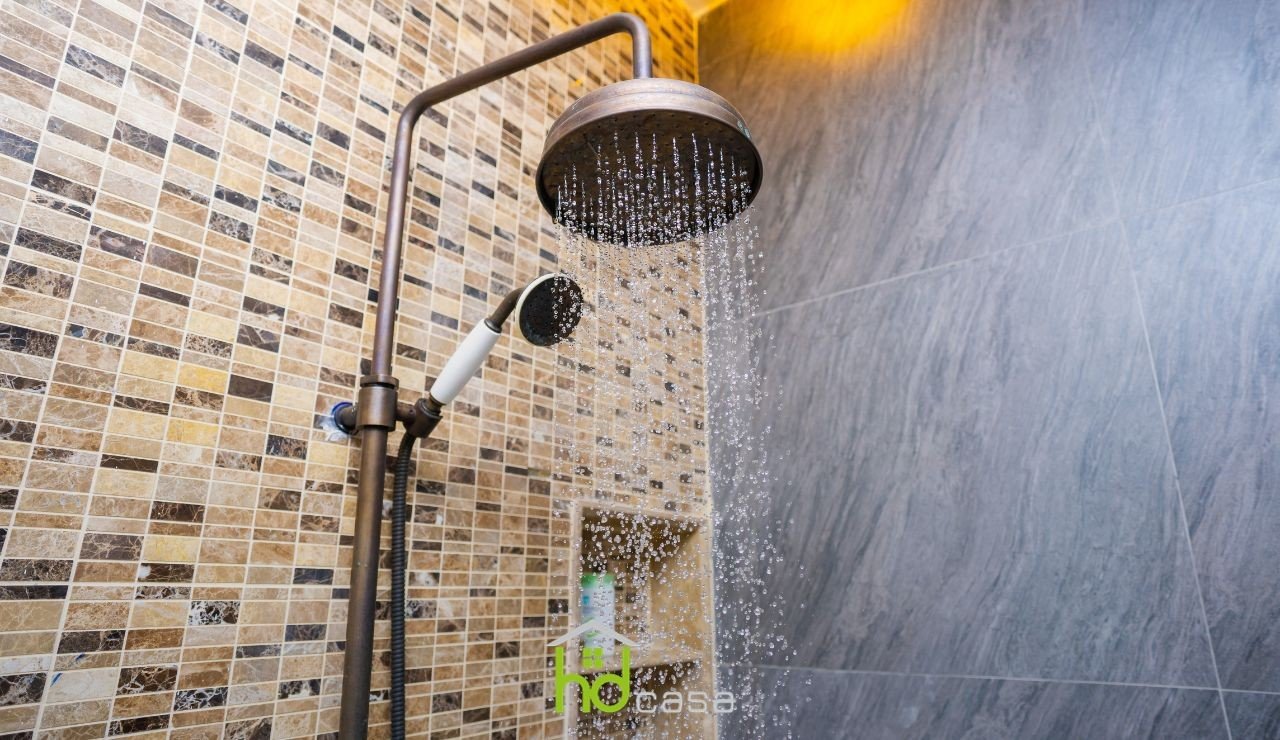
If you are dealing with setting up a bathroom, understanding how to install a shower column can prove useful, particularly to figure out if it is a task you can perform independently, avoiding the cost of a plumber, or if, due to the required level of familiarity with pipes, it is preferable to leave this job to a professional.
For this reason, in this article, you will find a guide that will explain step by step everything you need to do to carry out a shower column installation.
This way, you will autonomously decide whether to proceed yourself or leave room for industry professionals.
How to install a shower column: low skill level required
Before explaining the steps to install a bathroom shower column, let's address a premise that might help you decide whether to do it yourself or request a professional's intervention: installing this shower enclosure element does not require a high level of manual skill or specific familiarity with plumbing.
However, being precise is the real key to achieving a functional result that ensures the integrity of this item over time.
Having made this necessary premise, let's see together how to safely install a shower column in your enclosure.
Shower column installation: what you need
To perform this operation, you will need:
- New shower column;
- Shower mixer;
- Silicone;
- Wall plugs for hollow materials;
- Ceramic drill bit;
- PTFE tape;
- Pencil;
- Open-end wrench;
- Corded drill;
- Spirit level;
- Cooling paste for ceramic drill bits;
- A soft cloth (so as not to scratch the fittings when tightening them with pliers or a wrench).
With this equipment, your toolbox should be loaded with everything needed to install the shower column in your bathroom without a hitch.
Before installing the shower column: shut off the water supply
Before proceeding with the operational sections of this process, you will need to prepare the ideal working setup: as with almost all plumbing tasks, we suggest you turn off the main water valve.
Attention: taking all necessary precautions will help you avoid leaks, unexpected events, and complications while proceeding with the operational steps.
Take measurements to install the mixer on axis (for shower columns with mixer)
Most shower columns do not come with the mixer already mounted on them. If you want to install a shower column with a mixer, you will need to take measurements to see if the distance between its connections perfectly matches that of the water supply pipes on the wall.
Insert the eccentric fittings
At this stage, insert the eccentric fittings provided with your shower column into the pipe connections.
Make sure the new fittings cover any previous connections (or be prepared to do some masonry work in your bathroom to ensure a flawless result).
Shower column installation: start with the mixer
Carry out the shower column installation starting from the mixer, to figure out whether to adjust the fittings by aligning them with the wall or to insert the components deeply to adapt them to the wall and the size of the holes present on it.
The goal is that the pipe hole cover accessories are covered.
Once the necessary precautions have been taken, wrap the fitting with specific PTFE tape for the hermetic sealing of connections.
Screw the fittings for the shower column installation
Start screwing one fitting at a time. Proceed initially by hand, gently for more precision, and then continue with an open-end wrench. Be careful not to tighten completely to avoid creating future maintenance problems and use the soft cloth so as not to screw the fittings with the wrench in direct contact with them.
Proceed in the same way with the second fitting so that there is the desired distance between the two.
Bring the shower column mixer closer to perfectly adjust the distance between the fittings.
Check the alignment of the fittings with a spirit level
Place a spirit level on the newly mounted fittings to make sure they are perfectly horizontal.
Once the alignment of the fittings is ensured, seal everything with silicone, making the escutcheons (rosettes) adhere to the wall. Apply the silicone wearing gloves to get a homogeneous and optimal result.
Position the pipe cover escutcheons, and insert the filters and gaskets of each part of the mixer.
Screw on the mixer as you did with the fittings, starting by hand and continuing with the open-end wrench.
Attention: use the spirit level again to ensure the mixer is in perfect horizontal alignment.
Once these steps are completed, the installation of the column's mixer can be considered finished, and you can proceed with the actual installation of the shower column.
Shower column installation: fix the column rail
If you have to install a shower column without a mixer, this will be your actual first operational step.
The first thing to do is to take measurements and figure out how you will have to fix the column rail.
Also in this case, the spirit level will be your most faithful ally to ensure that the chosen position keeps the rail in a perfectly vertical position.
The spirit level will also help you understand at what height and distance you want the column rail to be from the mixer and any other items you want to have in the shower enclosure.
Take the correct measurements to drill the wall
Using a bit of masking tape, take the measurements and mark on it the exact spot where you will need to drill the wall with the drill, to proceed safely.
Drill the wall with the ceramic bit
Drill the wall with the ceramic bit, which transmits fewer vibrations to the handpiece making the drilling job precise, fast, and effective. It features a spearhead with diamond cutting edges, and it is the most suitable for drilling tiles and similar wall coverings.
To use it, it must work on surfaces always in the presence of a cooling liquid or paste specific for these operations.
Use the ceramic bit to proceed with the shower column installation
Place the drill bit on the mark and drill as slowly as possible, without engaging the hammer function, to preserve the condition of the tiles.
When you reach the bricks and therefore get past the tiles, engage the hammer function.
Begin fixing the shower column to the wall
Insert the wall plugs into the holes just created with the drill, beginning to fix the shower column to the wall.
Insert the gaskets as well and connect the shower column to the mixer.
Once these steps are completed, you will have finished installing the shower column in your enclosure.
Performing this plumbing job independently, if you already have the equipment, is truly a quick operation that will save you a lot of money.
This way, you could invest more money in completing the bathroom furnishings, or expand the purchasing budget for other bathroom fixtures.
Being the executor of these small DIY jobs in your own home is not only a satisfying activity, but also an excellent way to become familiar with some plumbing components that will surely come in handy in the future.
If, for example, you wanted to disassemble the shower head to clean it thoroughly, after performing a job like this, such an activity will seem like a real walk in the park!


