

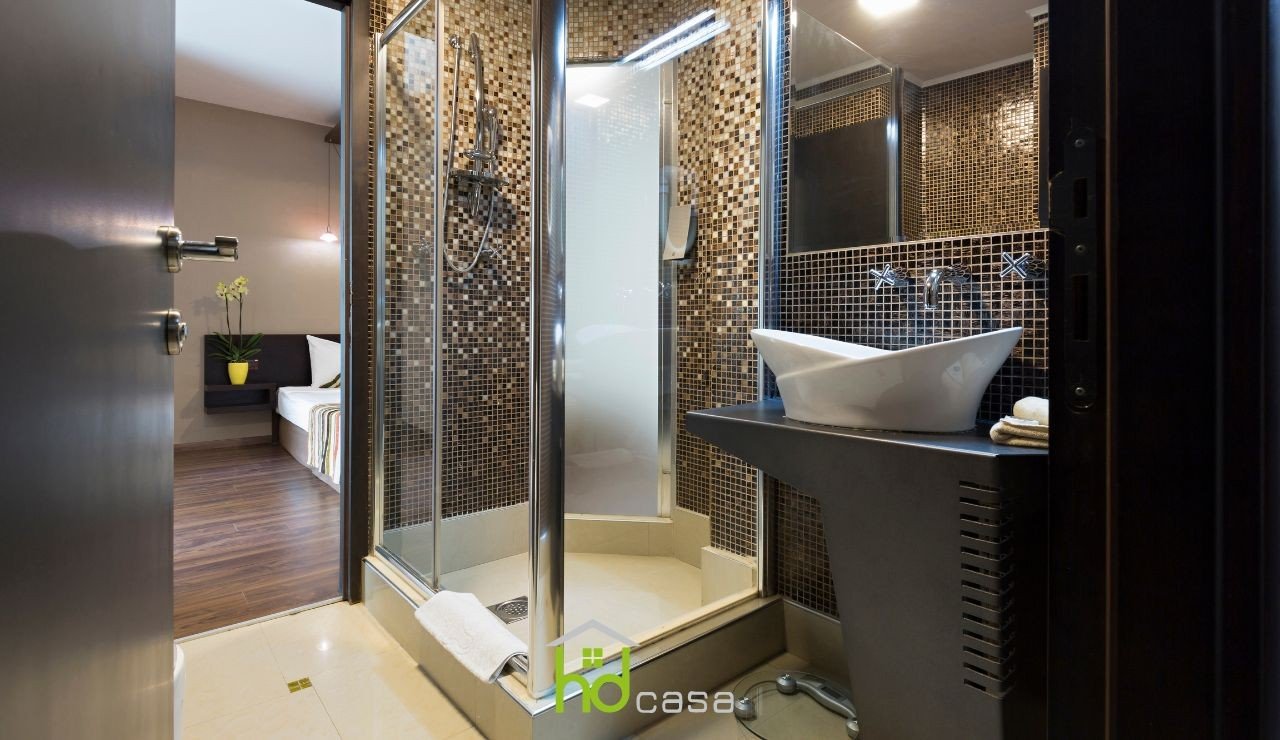
The shower enclosure is a comfortable and functional element that makes every shower a relaxing and practical experience.
This furnishing element, in fact, allows to prevent water leakage and always keep one's bathroom in the best conditions.
All this is possible above all thanks to a small component of the shower enclosure: the shower seals.
These are components of the shower enclosure that can be made of different materials combined with each other such as metals and silicone and perform multiple functions.
In fact, these seals are fundamental to limit splashes that could wet your bathroom floor, but they are also important to protect the integrity of the shower enclosure doors and ensure that they slide correctly.
These seals are placed in the steel profiles, inside of which the doors slide.
For this reason it is important to take care of the integrity of these seals and replace them as soon as they begin to get damaged or turn yellow.
Before seeing how to replace the shower enclosure seals, let's see together how to recognize the seals to be replaced.
Shower enclosure seals to be replaced : how to recognize them
The maintenance of the shower enclosure must be addressed periodically to allow your shower to always work at its best.
For this reason it is important to often check the state of the shower enclosure seals and change them if necessary.
Let's see together some signs to take into consideration:
- Consistent water leakage: Always check the amount of water leaking from your shower enclosure. Small amounts can be completely normal, especially with some types of shower profiles.
- Significant leaks however could be a warning sign for the integrity of the seals. In this case, dismantle the seals in the way you will see below and check that there are no faulty or damaged parts.
- Yellowing of the seals: Observe the color of the seals. Limescale and bathroom moisture can ruin the quality of the seals and make them ineffective in retaining water.
Also in this case, dismantle the seals and check their state.
Once it is ascertained that the seals are to be replaced, let's see together how to dismantle the old seals and correctly insert the new ones.
How to remove old shower seals
Even if replacing the shower seals can seem like a difficult operation, in reality with the right tips and measures it can be done by every DIY lover.
It is always very important, however, to perform these operations in total safety and make sure to be sufficiently protected.
Let's see together how to replace the shower enclosure seals correctly and install the new ones.
Step 1: Detach the shower panels correctly
The first step concerns detaching the shower panels panels and making them come out of the tracks of the aluminum profiles or any other material.
Make sure to start from the top and subsequently move the doors also from the shower tray.
Step 2: Remove the seals from the aluminum profiles
At this point pull the seals energetically from the profiles of the shower enclosure doors. Be careful not to pull excessively. Some seals to be replaced could break during this step and leave a part stuck inside the profiles.
Step 3: Clean the surface of the profiles thoroughly
Clean the surface again with the appropriate products and prepare everything for the application of the new seals.
Make sure to perform a thorough cleaning and to remove shower limescale to avoid problems in the future.
At this point you are ready to insert the new shower seals and best protect the shower panels of your bathroom.
Step 4: insert the new seals into the shower profiles
Position the shower enclosure seals in the appropriate profiles inserting them laterally and then pushing gently towards the inside.
Make sure that the measurements are correct. In fact, in order for the shower seals to be of the right size, it is necessary that they fit to size and are not too small compared to the profiles.
Step 5: Insert the shower panels correctly
Insert the shower panels being careful not to damage them. Start from the bottom and subsequently push towards the side shower profiles to make the panels adhere correctly.
Step 6: Check the stability of the shower panels
Make sure that the shower panels slide correctly and do not cause instability.
Make some tests verifying if the doors have been loaded correctly.
At this point the shower enclosure seals will be mounted correctly. Remember to take care of the seals regularly so that they do not get damaged.
Prevent limescale and mold from forming inside them by properly airing the bathroom and cleaning thoroughly periodically.


