

If your shower water jet no longer works like it used to, there can be multiple reasons.
With the passage of time, the components of your shower enclosure will begin to wear out and accumulate limescale and debris contained in the water. The first among all is the shower head, the component of the enclosure responsible for the outflow of water.
In this article, you will discover how to disassemble a shower head easily and safely.
Disassembling a shower head: equipment and materials
To disassemble the shower head safely and quickly, you will need:
- 1 adjustable wrench;
- Protective gloves;
- Teflon or PTFE technical tape (to seal the connections).
Make sure you have the necessary material to proceed with the next steps.
Before disassembling the shower head, remember to turn off the water
To proceed, remember that the water must be completely turned off.
This step is fundamental before proceeding with any plumbing work, to avoid the useless waste of water and possible flooding.
Close the water outlet valve of your shower and, if your plumbing system does not feature it, proceed to completely shut off the water supply to the shower.
Check that the water has actually been turned off by opening the shower knob. If you still notice even a faint stream of water, make sure you have correctly executed the previous step.
You will proceed with reopening the water once the work is completed.
Wear protection to disassemble the shower head safely
For any type of work, it is very important to wear protective equipment.
To proceed with the next steps, wear work gloves that will protect you from bumps, scratches, and any unexpected damage that may occur to you during the execution of this work.
Remove the shower head from the pipes
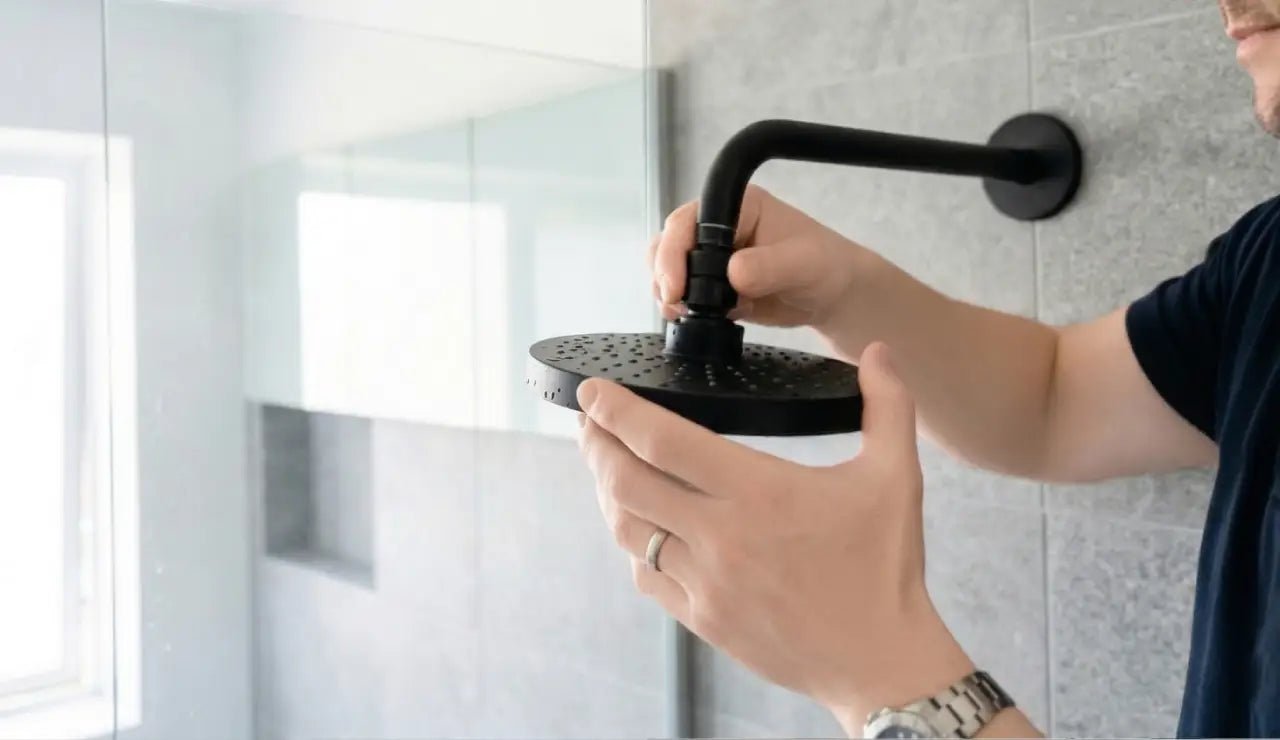
To disassemble the shower head without damaging anything, you will need to locate the connection of the shower head to the supply pipe. The latter features, in most cases, a thread.
Then, unscrew the nut of the flexible hose, using the adjustable wrench.
Attention: to avoid scratches, wrap the nut with a cotton cloth.
In this way, you will avoid direct contact of the adjustable wrench with the nut. Once unscrewed, disconnect the flexible hose from the water inlet. To complete this job correctly, turn the shower head counterclockwise. A bit of elbow grease might be necessary, but thanks to the adjustable wrench you will have nothing to fear.
In summary:
- Locate the connection of the shower head to the pipes;
- Secure the protective nut of the pipes with a soft cloth;
- With the adjustable wrench, unscrew the connection of the shower head to the water pipe.
Post shower head removal: cleaning and inspection
Once the shower head is removed, make sure that every component is in perfect condition.
Alternatively, replace it with a new generation model.
To clean the shower head and remove limescale completely (which is the main cause of its malfunction), prepare a basin of hot water, in which to pour 1 cup of vinegar and 1 cup of baking soda.
The presence of these 2 ingredients will create a foamy chemical reaction that acts as a natural limescale remover.
Keep the shower head soaking inside this basin to make sure that every limescale deposit dissolves, eliminating it completely.
If your shower head presents a clearly visible layer of limescale, you could leave it soaking for an entire night.
So, in summary:
- Carefully inspect the shower head, making sure that every component is intact;
- Submerge the shower head inside a container containing hot water, vinegar, and baking soda;
- Leave the shower head soaking to make sure that the mixture effectively eliminates the limescale.
Reassemble the shower head
Once rinsed and dried, you will need to reassemble the shower head that you have cleaned.
To complete this work:
- Wrap the Teflon tape around the nut of the flexible hose, creating a watertight seal.
- Insert the shower head into the water supply pipe.
- Screw the shower head (generally clockwise), tightening it firmly to the supply pipe.
Reopen the water: let the final test begin
When you turn the water back on, you will have actual proof of the quality of the work conducted: once reactivated, you can turn on the shower mixer and, based on your previous experiences and needs, decide whether the work performed brought the desired results, or if it has unfortunately come time to buy a new shower head.
For a deeper cleaning: how to open a shower head
If you took your time to choose your shower enclosure and purchased your shower head very recently, it will hardly be time to replace the shower head yet.
Furthermore, if you notice that limescale has settled deep down and you clearly see a layer of limescale penetrating into the small nozzles responsible for the water outflow, the last word has not been said yet: you could still save your shower head!
Open the shower head and thoroughly clean every small part of it.
Once disassembled and separated from the shower water pipe, use a soft-bristled brush to delicately remove every trace of limescale from the nozzles.
For super stubborn dirt, you can proceed to this step after the soaking phase of the shower head in the vinegar and baking soda mixture.
Performing this operation cyclically is in any case fundamental to thoroughly clean one's shower enclosure and ensure the perfect degree of longevity for every component of the home's bathroom taps.


